Gluten Free Lemon Cream Cake
If you’re looking for a dessert that’s light, creamy, bursting with fresh lemon flavor, and gluten free, this lemon cream cake is it. Made entirely gluten-free, it’s the kind of cake that feels fancy enough for a celebration but easy enough to make on a weekend. The combination of fluffy vanilla cake, a lemon-kissed cream filling, and whipped topping makes every bite feel like sunshine on a spoon.
This is now going to be a go-to recipe in our house when we want something special that doesn’t require complicated steps. I’ve included my favorite gluten-free flour blend, plus a few tips to make the process extra smooth.
This post is all about lemon cream cake.
As an Amazon Associate I earn on qualifying purchases. This post contains affiliate links, which means I make a small commission at no extra cost to you. I am in no way sponsored by any of the companies/products listed below and therefore have no bearing on the products I choose to review or recommend.
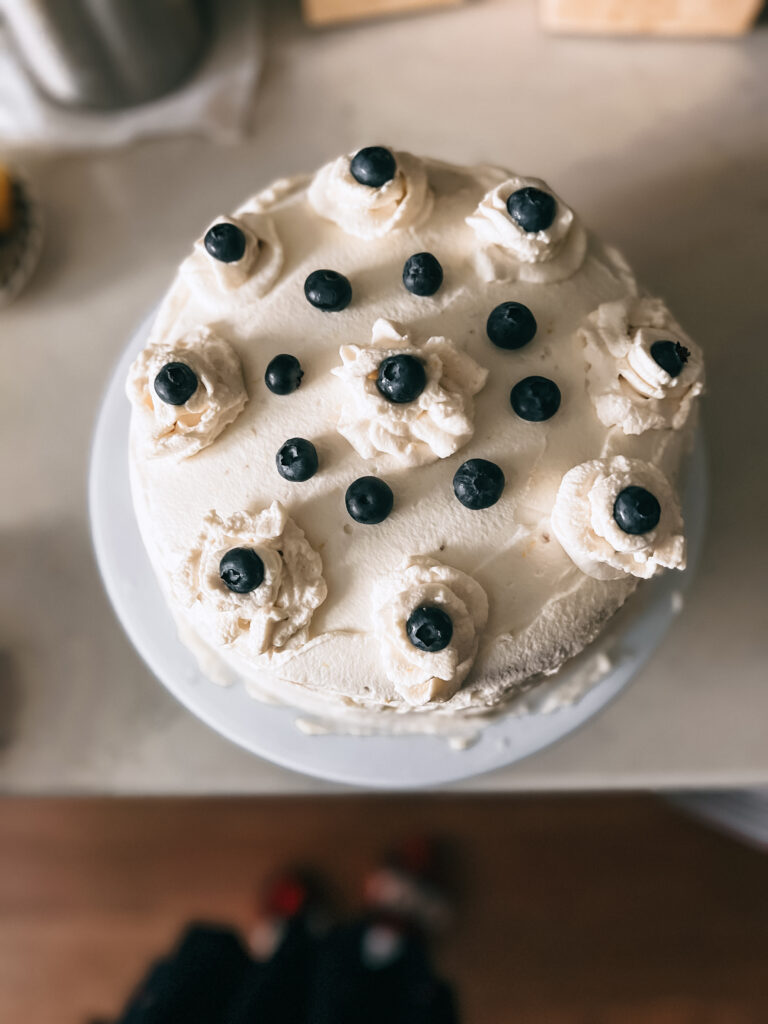
Table of Contents
About the Cake
The recipe that I found for this cake originally wasn’t gluten free and I made it gluten free. I’ve also made tweaks to the recipe to suit our tastes and the design of the cake. It didn’t have enough of the ‘frosting’ (aka whipped cream topping) to make the florets so I whipped together the ingredients I had to create more to make those. Be as creative as you’d like to be – you’re the artist for the cake decorations after all!
This cake would look beautiful even without the florets and with or without fresh fruit on top. I bought a piping set along with a cake turntable to learn how to do piping and make fancier, cuter cakes. The piping kit has 64 different pieces to it and includes access to learning how to decorate cakes. I haven’t used the video courses but plan to check it out at some point.
The two pieces of cake will actually become 4 separate pieces. After the cake is fully cooked and cooled, they’ll be split in half to create 4 layers.
Tools You’ll Need
- measuring cups
- measuring spoons
- zester
- piping supplies and turntable (optional)
- hand mixer or stand mixer
- offset/bent spatula
- spatula
- 2 round 9 inch cake pans
- serrated knife or cake leveler
- medium mixing bowl
- large mixing bowl
- Sifter
- whisk
- cooling racks

Ingredients You’ll Need
For the Vanilla Cake
- 2 1/2 cups gluten-free 1:1 flour (I used Anthony’s Organic 1:1 flour)
- 2 1/2 teaspoons baking powder
- 3/4 cup salted butter (softened)
- 1 cup granulated sugar (I used golden sugar because that’s what I had on hand)
- 4 large eggs
- 1 cup buttermilk
- 1 tablespoon vanilla extract
the Cream Filling
- 8 oz cream cheese (softened)
- 3/4 cup powdered sugar
- Zest from 1 lemon
- Juice from 1/2 lemon
- 1 cup whipping cream
For the Whipped Cream Frosting
- 1 cup whipping cream
- 1 teaspoon vanilla extract
- 1/4 cup powdered sugar
- 1 teaspoon lemon zest
the Piped Florets (Optional)
- 3/4 cup whipping cream
- 1/2 teaspoon vanilla extract
- 1/8 cup granulated sugar
- 1/2 teaspoon lemon zest
Garnish (optional)
- Berries (I used blueberries to make the cake fancier and because it was 4th of July weekend!)
- Lemon zest

How to Make the Cake
1. Prepare your pans
Line the bottom of your cake pan with parchment paper and grease the sides well. This will help the cake release cleanly once baked.
2. Mix the dry ingredients
In a medium bowl, whisk together the dry ingredients. Using a sifter, sift the dry ingredients into a bowl and then whisk them together. Be careful not to mix too much because we want the ingredients to be light and airy. Gluten free cakes have a tendency to come out more dense. Set this bowl to the side to start working on the wet ingredients.
3. Mix the wet ingredients
In a large bowl, beat the butter and sugar until light and fluffy. This will take a few minutes to achieve. Add in the eggs one at a time, mixing well after each. Next add the vanilla extract.

4. Add the dry ingredients to the wet
Alternate adding the flour mixture and buttermilk, mixing gently. Add the flour mixture in small batches. I sifted again to make sure it was as light and airy as possible. Mix until combined.
5. Bake the cake
Pour into your prepared pans, evenly divided between the two pans. Bake at 350°F (175°C) for 20 to 25 minutes or until a toothpick comes out clean. Before putting the cake on the cooling racks, let them rest for about 10 minutes. If all has gone well, the cake should already be separated from the sides of the cake pans.
6. Let the cake cool
Let the cake cool down completely before you start putting the filling and topping on. If the cake isn’t fully cooled, it may cause the filling and/or topping to melt.
7. While the cake cools
Start making the filling while the cake cools. In a mixing bowl, beat together the cream cheese, powdered sugar, lemon zest, and lemon juice until it’s a smooth consistency. Set aside the bowl.
8. Whipped Cream for the filling
In a separate bowl, whip up the heavy cream until there are stiff peaks formed. Next add the whipped cream into the cream cheese filling mixture. Gently fold it into the mixture to keep the airiness.
9. Cut the cakes in half
To create a more layered look, cut each of the cakes in half. I used a serrated knife to do this and it worked out well. Alternatively, use the cake leveler to cut the cakes.
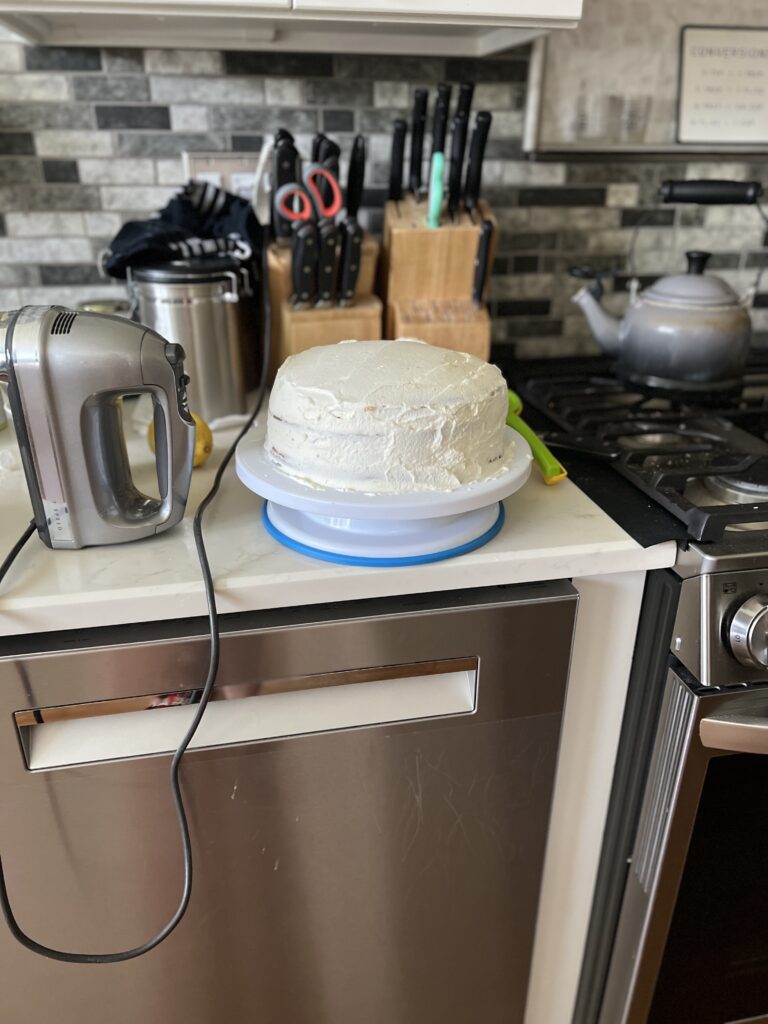
10. Layer the cake and put on the frosting
I placed the cake on the table turner, but feel free to use a cake stand for this part. It may be a little difficult to do on a plate. Take a bottom piece of the cakes cut in half and use it as the bottom of the cake. Put the cream filling on and smooth it out with the offset/angled spatula. Repeat this process until you have each layer topped with the cream filling. I didn’t put the cream on the very top of the cake.

11. Place the cake briefly in the fridge and make the frosting.
To keep the cream filling solid, place the cake briefly in the fridge while making the frosting. In a mixing bowl, whip the whipping cream, sugar, vanilla extract, and lemon zest. Take the cake out of the fridge and top it with the frosting. Make sure to coat the sides of the cake as well (if that’s the look you’re going for).
12. Frosting for the florets (optional)
In a mixing bowl, whip the whipping cream, sugar, vanilla extract, and lemon zest. Using a piping tool, make the florets on top of the cake.
To make evenly spaced florets, start in the top center of the cake and create a floret. Next create one opposite of it. Do the same on opposite sides of the cake horizontally. Now create florets in between each of the florets you just made. Make another floret in the center.
If you’re not immediately serving the cake, place in the fridge until ready to serve.

💛 Tips for Success
- Use parchment paper and grease your pans. Gluten-free cakes can stick more easily.
- Refrigerating the cake before assembly makes layering and frosting much easier.
- The lemon zest adds so much brightness—don’t skip it!
- Use a plate to flip the cake out of the cake pans. Then transfer to the cooling rack.

This lemon cream cake is proof that gluten-free baking can be beautiful and delicious. Whether you’re celebrating something big or just want to brighten an ordinary day, this cake will do the trick.
Let me know if you try it—I’d love to hear how it turned out in your kitchen!
This post was all about lemon cream cake.

Other Posts You May Like
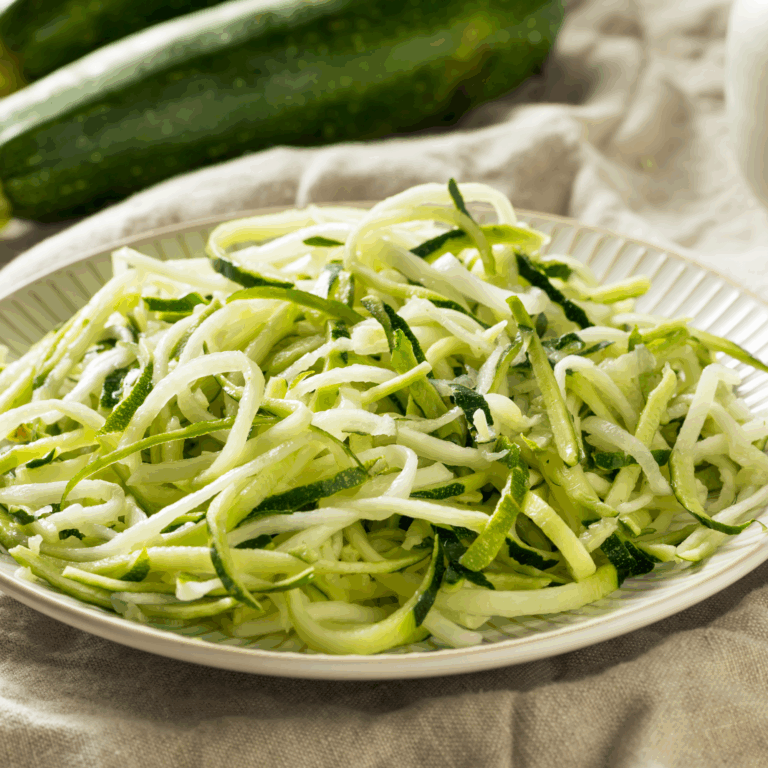
Creamy German Cucumber Salad (Easy Summer Side)